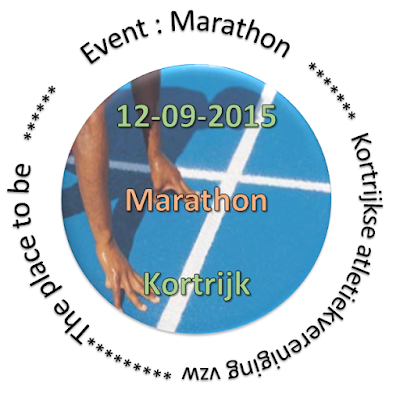
The slide in its finished state should look like something like this:
Create your circle, give it a transparent background of 50-70 %. Put in the text you want and format it with a suitable WordArt style.
Step 2
Insert your picture, move it to the background and apply and artistic effect (I have used the photocopy effect here) and apply a soft edge of 25 points.
Step 3
Insert the textbox that should be above the circle, format it to the size you want.
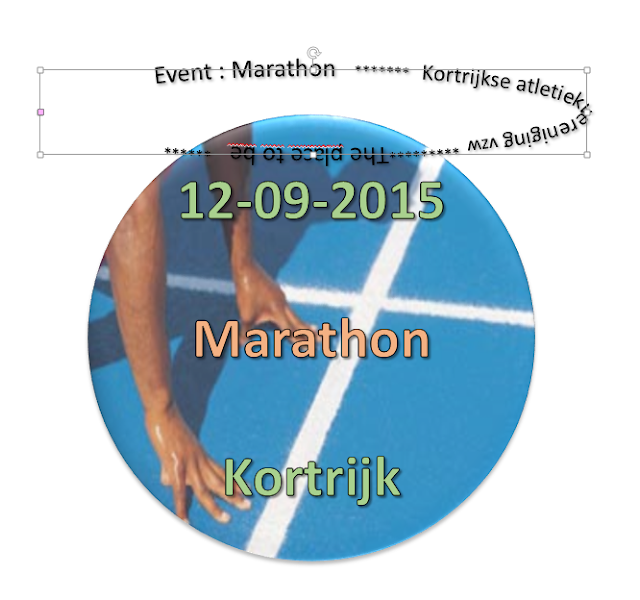
Now curve it so that it follows the shape of the circle. In the WordArt styles group click the Text effects button and choose Transform, under follow path use the Arc up and Arc down options to curve your text. Repeat the process for the text box at the bottom.
Adjust character spacing to very loose.
For the bottom box, first adjust the bow using the handle then adjust the text box in height and with so that it fits perfectly around the circle.
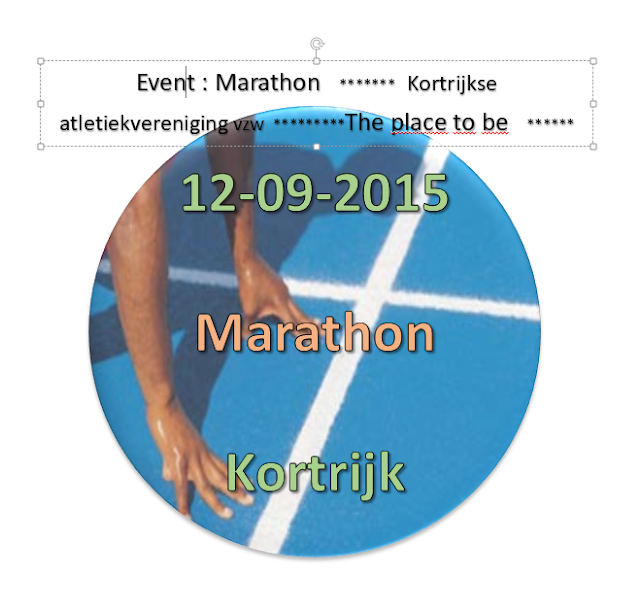
Insert a textbox that should be wider than the circle. Type your text.
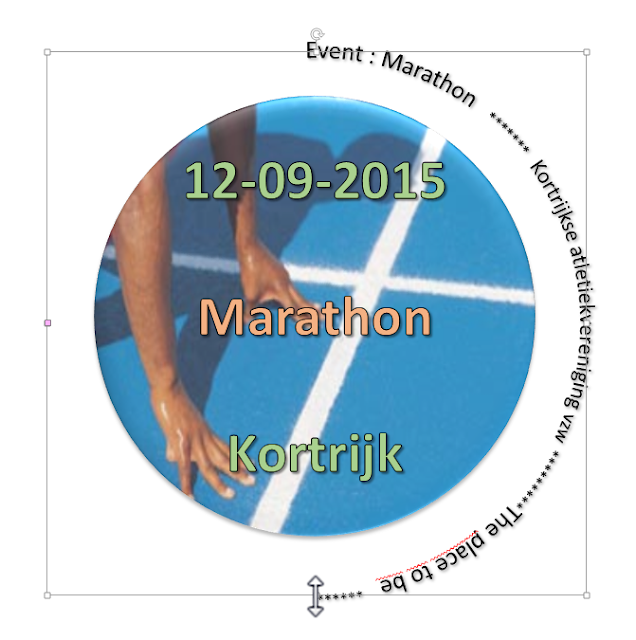
Now curve it so that it follows the shape of the circle. In the WordArt styles group click the Text effects button and choose Transform, under follow path use the Circle option to curve your text.
 |
| Create textbox and type text |
 |
| Apply text effect circle |
 |
| Adjust the height using the handle |
Now increase the font size so that the text follows the complete circle. Make use of the rotation button to adjust the text and its placement in the circle.
We will do the animation in a next entry.


Geen opmerkingen:
Een reactie posten